Drip irrigation is an efficient and cost-effective method of delivering water to plants and crops. This system works by slowly releasing water at the roots of plants, which minimizes water waste and helps keep the soil moist. If you’re a commercial business looking to install a drip irrigation system, this guide will provide you with the necessary steps to get started.
-
Plan Your System
Before you begin, you’ll need to plan your drip irrigation system. Consider the size and shape of your land and the water requirements of your plants and crops. You may want to consult with an irrigation specialist to help you design the system to ensure it’s tailored to your specific needs.
-
Gather Materials
Once you’ve designed your system, gather all the necessary materials. You’ll need a pressure regulator, filter, tubing, emitters, connectors, stakes, and a timer. Ensure that you purchase high-quality materials that are compatible with each other and suitable for your specific application.
-
Install the Water Source
The water source for your drip irrigation system will need to be connected to your main water supply. This can be achieved by installing a backflow preventer and a valve. The backflow preventer helps prevent contaminated water from entering your irrigation system, while the valve allows you to control the flow of water.
-
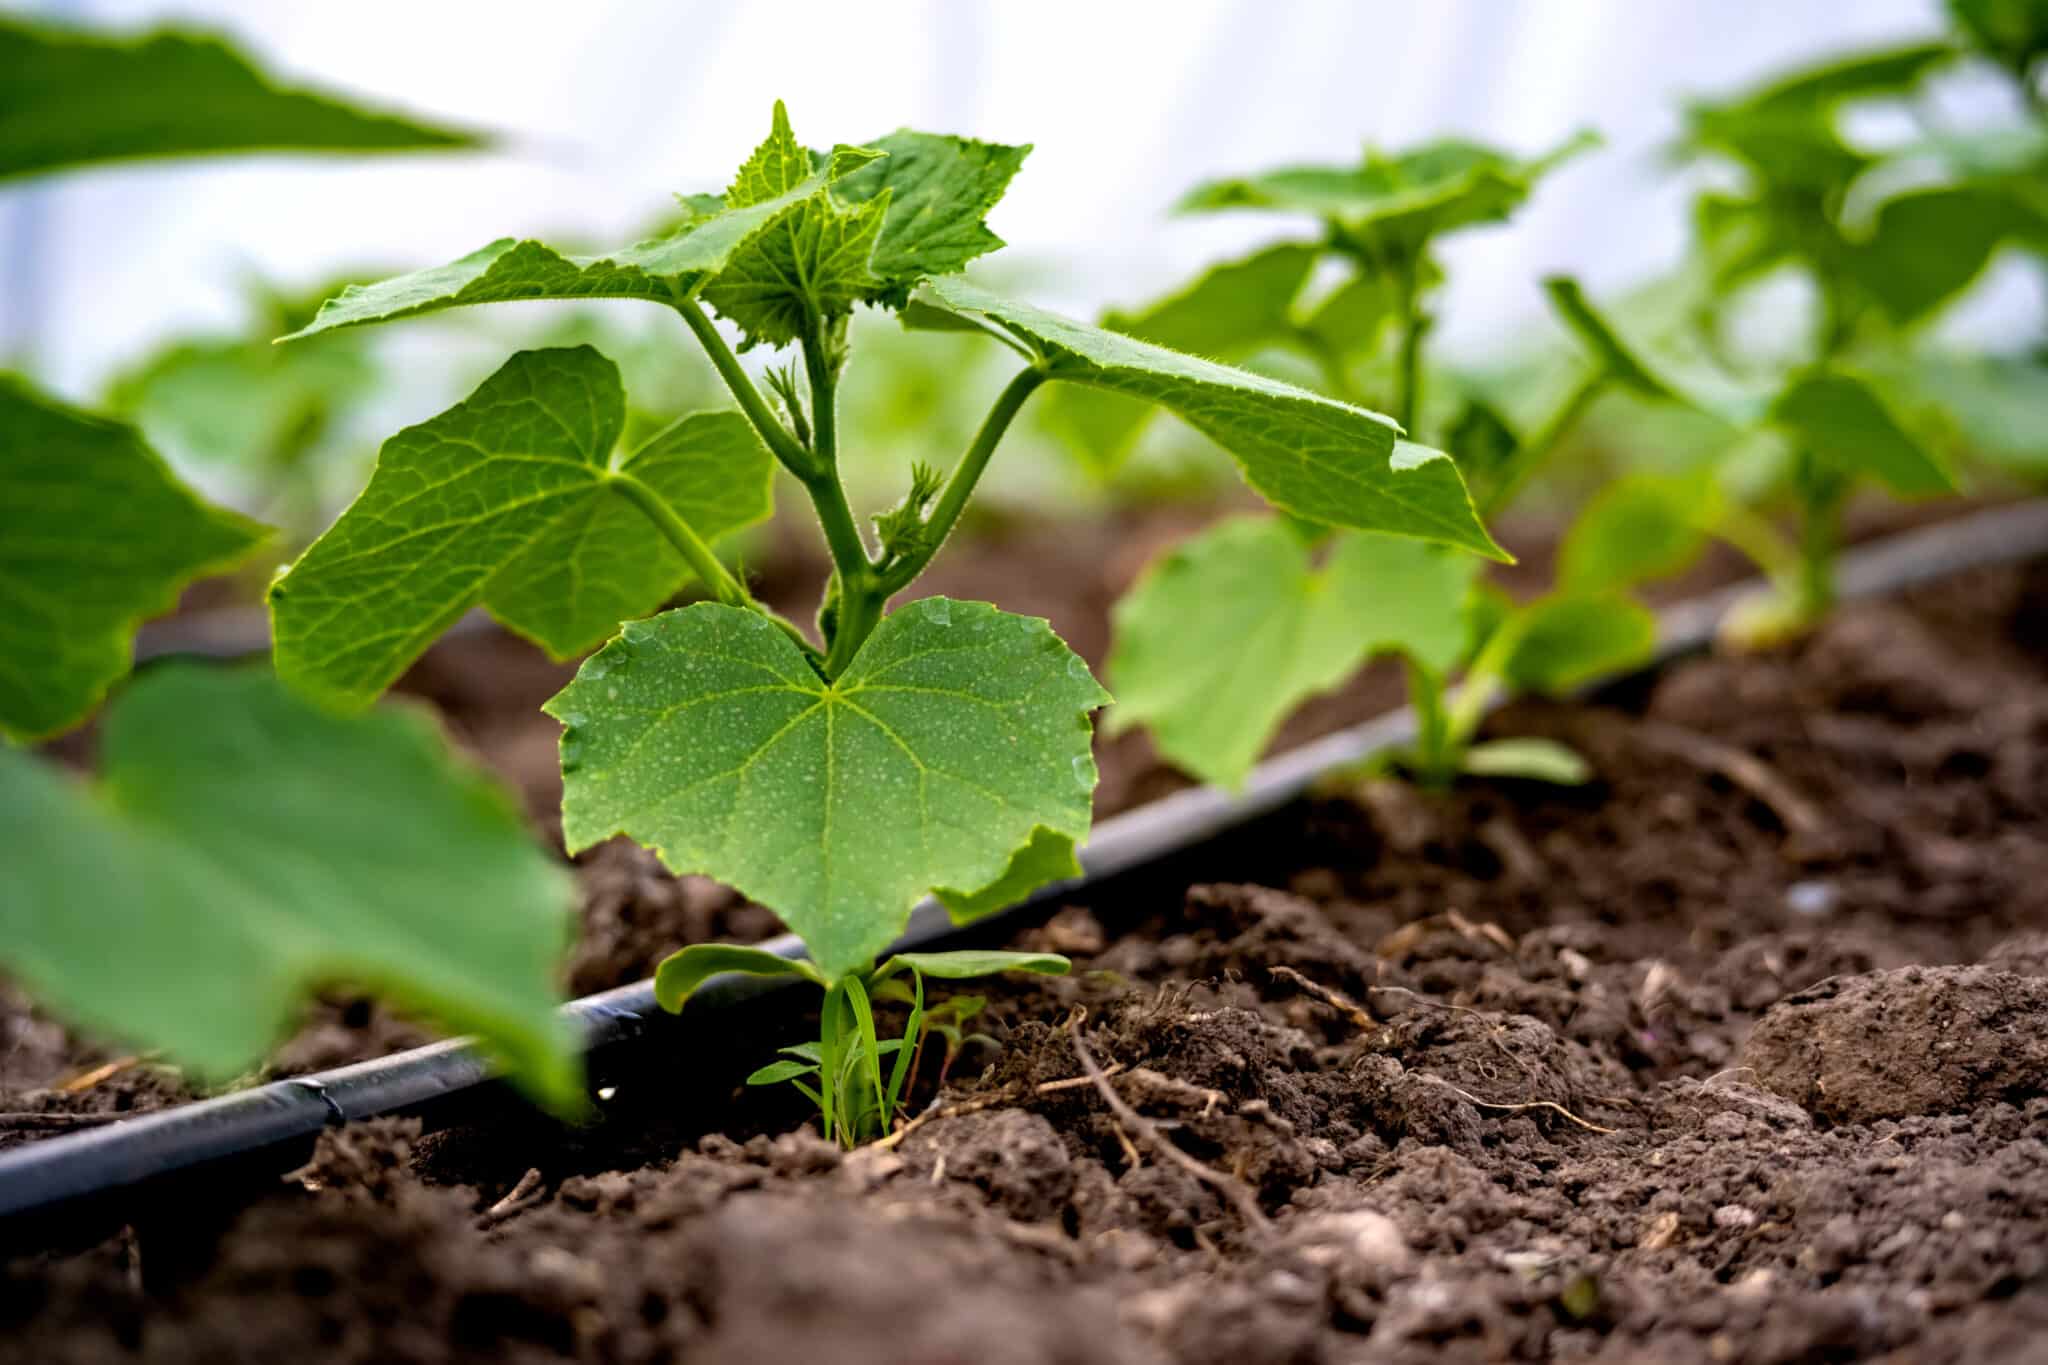
Lay the Tubing
Once you’ve installed the water source, lay the tubing along the perimeter of your planting area. The tubing should be placed at a depth of at least six inches below the soil surface to prevent damage from equipment or foot traffic.
-
Install Emitters
Next, install emitters at the base of each plant or crop. Emitters come in different flow rates, so choose the appropriate one based on the water requirements of your plants. Connect the emitters to the tubing using connectors and stakes to secure them in place.
-
Install a Timer
To ensure that your plants receive water at the appropriate time, install a timer to control the flow of water through the system. The timer should be set based on the water requirements of your plants and the climate in your region.
-
Test Your System
Once you’ve completed the installation, test your system to ensure that it’s working correctly. Turn on the water supply and check for any leaks or malfunctions. Adjust the timer and emitters as necessary to ensure that your plants are receiving the right amount of water.
Drip irrigation systems are an excellent option for businesses looking to conserve water and improve the health of their plants and crops. By following these steps, you can install a drip irrigation system that’s tailored to your specific needs and provides you with years of trouble-free service. Remember to maintain your system regularly by checking for leaks, cleaning filters, and replacing worn components to ensure that it continues to operate efficiently.
If you need irrigation installation services in Waterford, CT, turn to Maxum Irrigation & Plumbing. They specialize in offering area residents highly efficient systems that save water and result in lush, beautiful lawns. To learn more or to set up an appointment, call (860) 525-7000 or go online today.